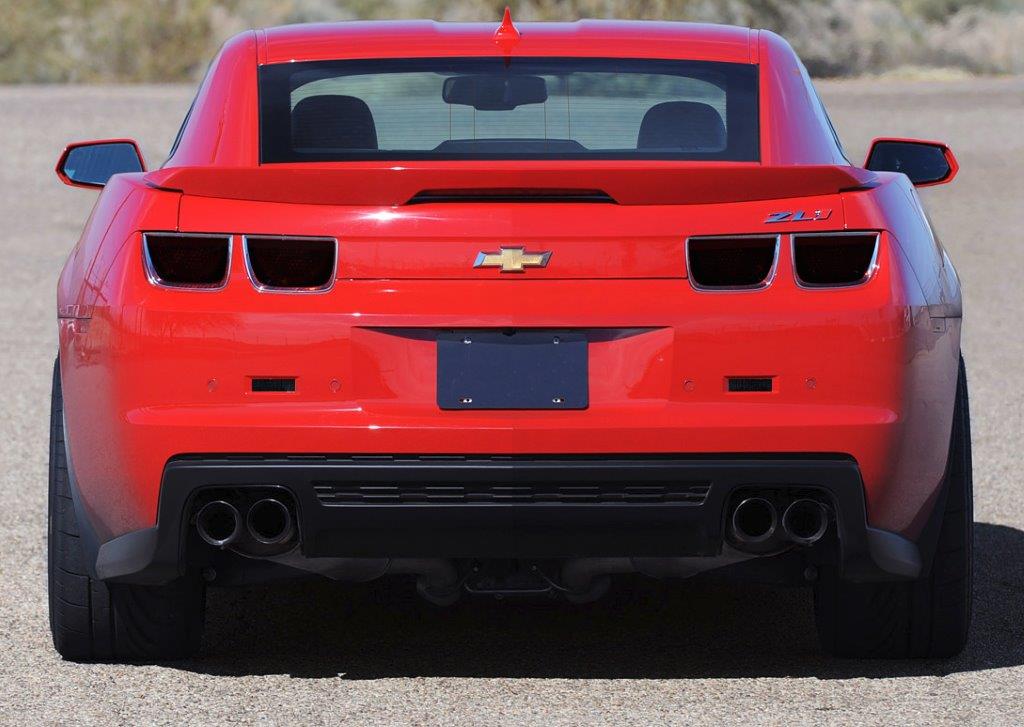


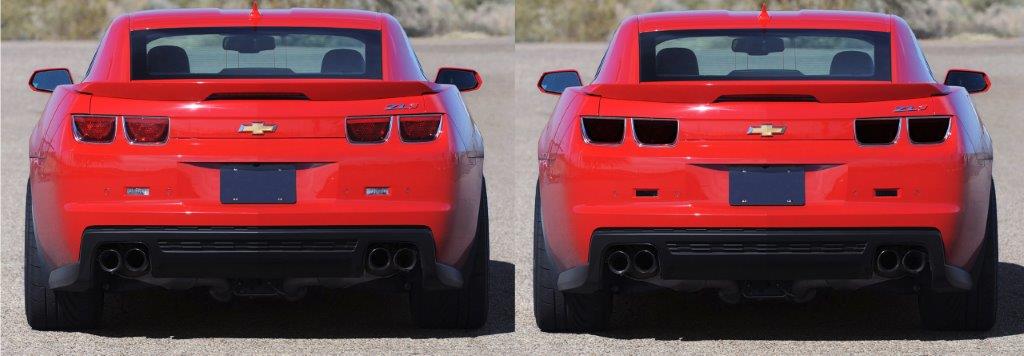
NEW VINYL INSTALLATION TOOL SUGGESTIONS
We have certain tools that we prefer to use for the different methods of Vinyl installation - Find them all in our shop!
  
|
TINT INSTALLATION: (CLICK HERE FOR KIT) Yellow Turbo SuperFlex Squeegee. 32oz Pro Spray Bottle (w/APP FLUID) Microfiber towel. |

|
WET INSTALLATION: (CLICK HERE FOR KIT) Felt Tip Squeegee. 32oz Pro Spray Bottle (w/APP FLUID) Microfiber towel. |

|
PAINT PROTECTION: (CLICK HERE FOR KIT) Yellow Turbo SuperFlex Squeegee. Slip fluid (Sold in 8, 16, or 32oz). Microfiber towel. |
|
|
WET TRANSFER PAPER INSTALLATION: (CLICK HERE FOR KIT) Felt Tip Squeegee. 32oz Pro Spray Bottle (w/APP FLUID) Microfiber towel. |
 OR OR 
|
DRY DECAL: (CLICK HERE FOR SQUEEGEE) We prefer the use of a Gold or Plastic Squeegee. |
*To contour vinyl around heavy curvature we suggest the use of a heat gun/hair dryer.
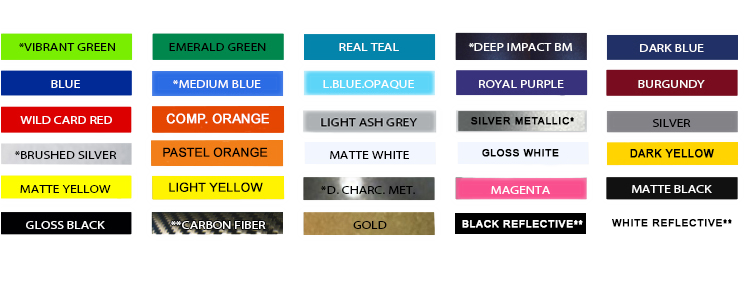
Don't see the vinyl color you want? Choose from our hand selected vinyl colors to get the perfect match for you!